

Magnetic Analyzer 4 430 Setup Exclusive | Quantum Resonance
Before diving into the exclusive setup, it is critical to understand why the 4th Generation (Gen 4) 430 model demands a different approach than its predecessors.
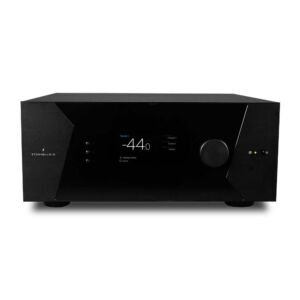
The sun began to set, casting long shadows across the clinic floor. The Quantum Resonance Magnetic Analyzer 4.430 sat silently, its sensor rod resting on the ceramic tile like a sleeping animal.
Aris wrote in his logbook:
He didn't know if the machine was reading his quantum field or simply measuring the galvanic skin response of his palm and guessing the rest using a sophisticated algorithm. The "magnetic" aspect remained a black box, a proprietary secret guarded by the code.
But as he packed up for the day, he looked at the 'Exclusive' serial number. Whether it was physics or psychology, the 4.430 had done something no other diagnostic tool had done—it had told him what he already knew about himself, without him having to say a word. In the world of preventative medicine, Aris supposed, that was a start.
He locked the door, leaving the machine in standby mode, the soft pulse of its power light blinking in the dark, listening to the silence of the room. quantum resonance magnetic analyzer 4 430 setup exclusive
Once configured, the actual scan requires discipline.
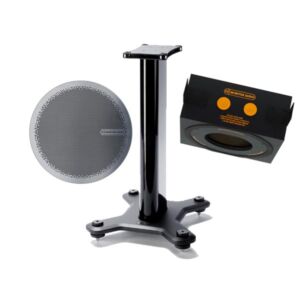
The Sensor Sweep Technique: Unlike older models, the QRMA-4 430 does not need to touch the skin. Hold the sensor 5mm above the skin surface.
What the software displays: Post-scan, the software generates a 12-page report including:
1. Run as Administrator
Locate the setup file (usually named Setup.exe or similar inside the folder). Right-click and select "Run as Administrator." This is crucial; standard user permissions often cause the installation to fail halfway through.
2. Installation Directory
When prompted, the default path is usually C:\Quantum Resonance Magnetic Analyzer. Before diving into the exclusive setup, it is
3. Driver Installation Once the software installs, plug in the device via USB.
4. Licensing & Activation The "Exclusive" version typically requires a software key.
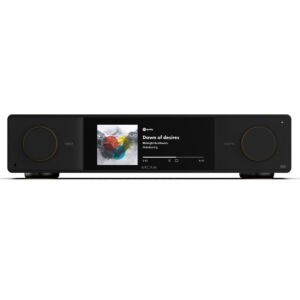
5. Testing the Connection Open the software. You should see the main dashboard.
Aris cleared his desk. He wasn't just setting up a machine; he was building a confessional booth for the human body. The instructions were sparse, a single sheet of glossy paper translated from Mandarin to broken English, but Aris knew the ritual by heart.
First, the physical connection. He took the sensor rod, shaped like an elongated mouse, and plugged it into the specialized USB dongle. This was the heart of the 4.430’s exclusivity—the dongle contained a dedicated signal processor that bypassed the computer’s native sound card, a flaw that had ruined earlier models with static interference. He didn't know if the machine was reading
He slid the installation disc into his laptop. The interface was dated, reminiscent of Windows 98 software, all blocky buttons and neon blue gradients. He clicked Setup.exe.
"Installing Quantum Drivers... Do not disconnect the sensor."
The progress bar crawled. Aris tapped his fingers on the desk. The promise of the 4.430 was simple: non-invasive analysis. No blood draws, no waiting for labs. Just hold the sensor, and through the magic of weak magnetic frequency resonance, the machine would supposedly extrapolate the quantum state of his cells.
"Database Error" / "File Not Found" This happens if the software was installed to a custom folder (e.g., Desktop or D: drive).
"USB Device Not Recognized" This is common with cloned hardware.
Software Freezes During Test